Why IP Protection is a Key Driver for Peloton’s Platooning Technology
September 5, 2019
It Takes Two to Platoon
May 26, 2020Our PlatoonPro Retrofit Kit Will Help Installers Get the Job Done
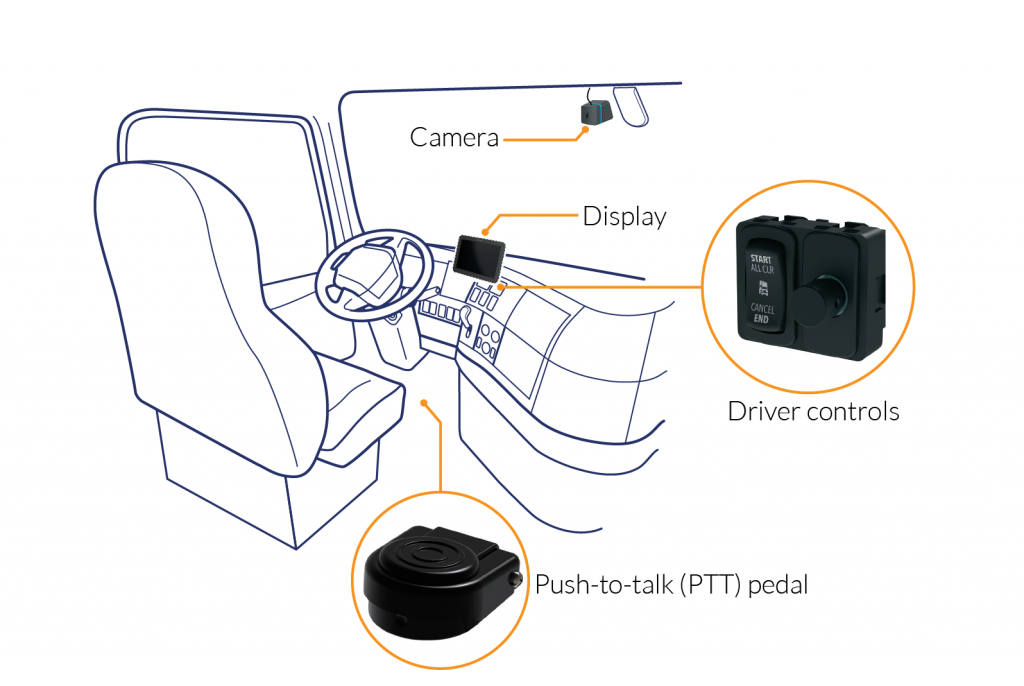
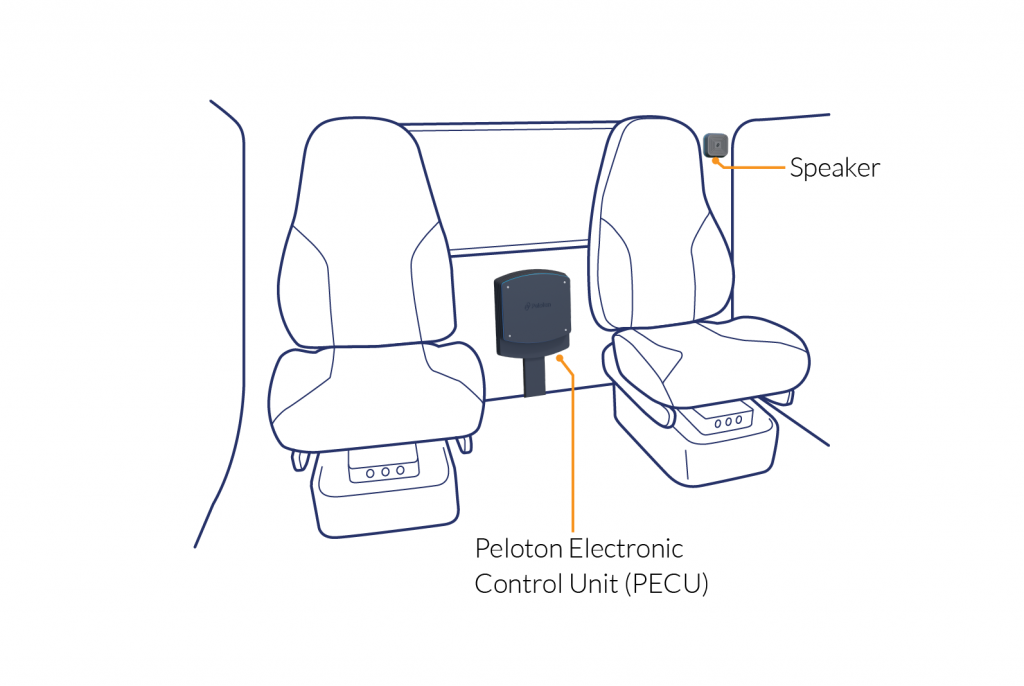
As Peloton paves a path forward for commercial platooning, we’re also working with major trucking OEMs to make PlatoonPro available as a factory pre-wire on future production vehicles. And for many of the trucks out on the road today, platooning capability will be made available through a PlatoonPro retrofit kit.* Everything we’ve learned to date about installing PlatoonPro – from retrofitting our own test fleet to converting customer trucks – is being applied to our turnkey solution for fleet installations.
As a former fleet manager for a construction company, and as someone who used to customize 4x4s for a living, I know there are installation technicians and fleet managers out there who are wondering:
How long does it take to install the PlatoonPro system?
Does installation require any special tools?
Will I need an engineering degree to do this?
I won’t say it’s a trivial task to install PlatoonPro, but I can say that Peloton’s turnkey solution will genuinely streamline the installation process. In fact, now that I’ve installed almost two dozen Peloton systems on Kenworth, Peterbilt, and Volvo tractors, I can say with confidence that installing PlatoonPro is not as complex as, say, doing an engine conversion/swap.
In reality, a day-cab installation can be completed by a single technician in just 2 to 3 hours.
Peloton’s ‘Big Box’ includes (just about) everything
A PlatoonPro installation kit will have everything you need in one big box: from system components and their mounting kits to the wiring harnesses; from diagrams and instructions to zip ties and mounting tape. There’s no nut or bolt left unturned.
All kits will be tailored to your truck’s particular make and model.
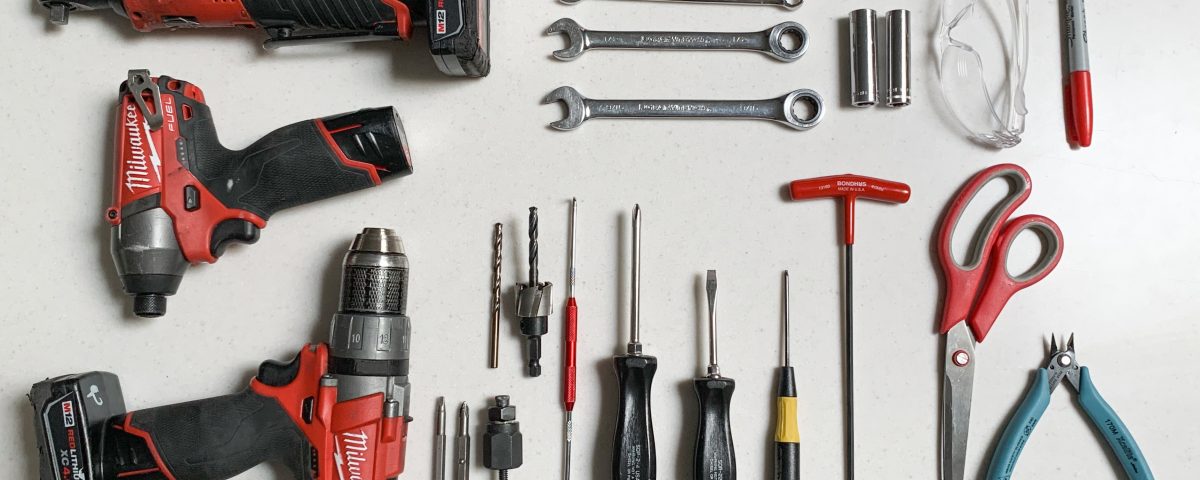
As an installer, all you’ll need to provide is your know-how and a few tools. For the most part, you’ll just need some basic hand tools; the only specialty tool is a rivet nut insert tool which is used to mount the PlatoonPro controller on the cab wall.
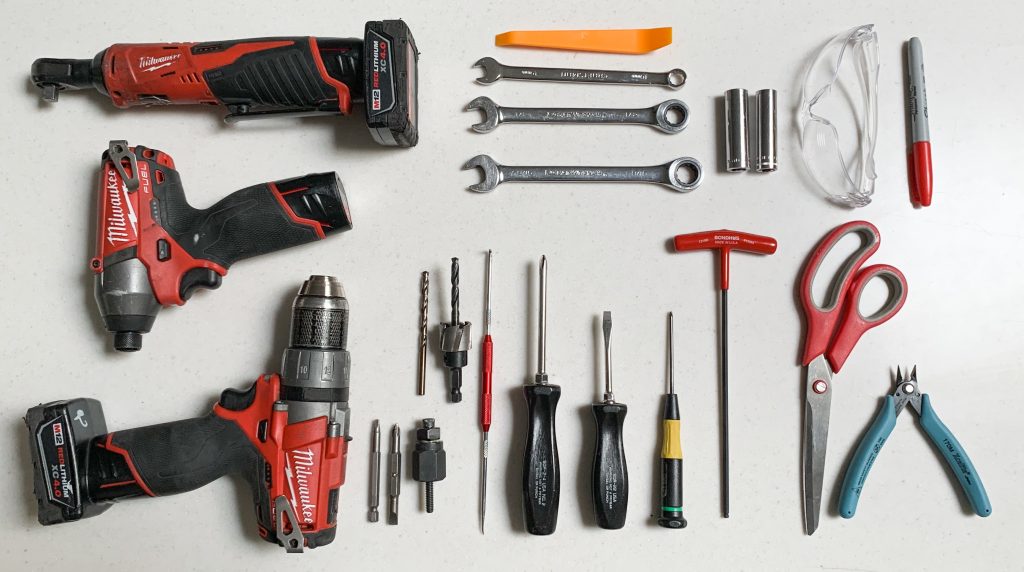
What does a typical day-cab installation look like?
Most installers can figure out what’s needed just by looking at the finished product, so let’s look at a typical installation.
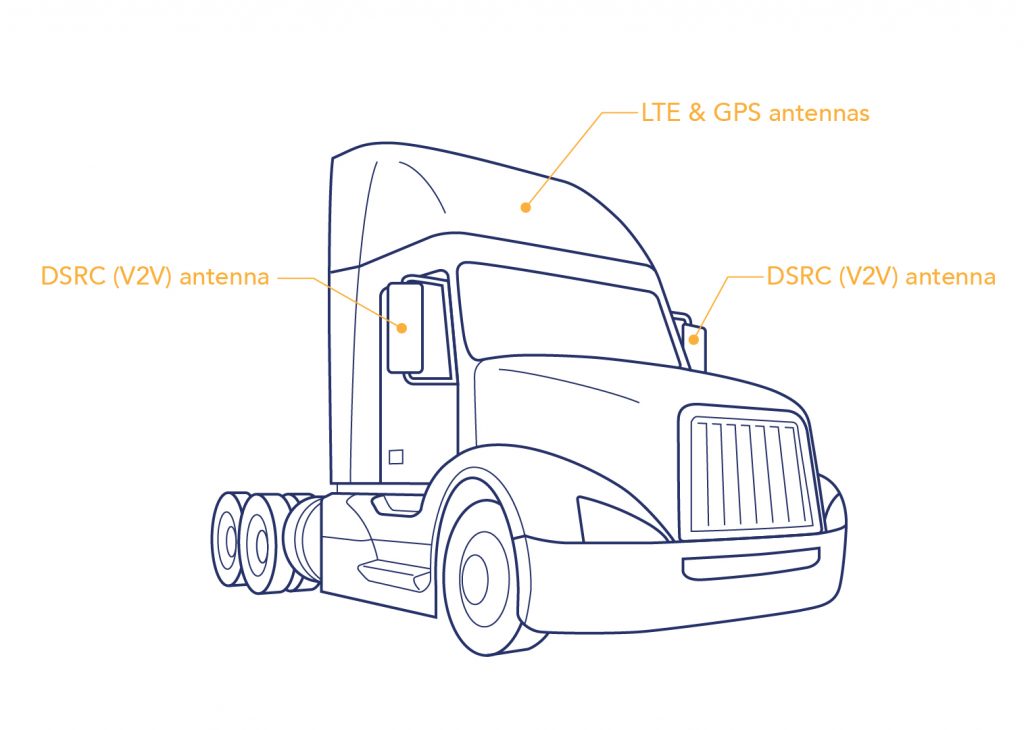
Vehicle prep: The bulk of installation time
It’ll be no surprise to installers that preparing the vehicle is the most time-consuming part of the process. I usually start by opening up the area where the dashboard switches and cabling will go, then I clear a path for the main harness to run along the passenger side to the back of the cab.
With the cab prepped, the main harness installation is pretty straightforward and can be done in about 15 minutes.
Pro tips: I’ve found it’s faster and easier to install our patented DSRC antennas into the side mirrors if I move the mirrors to the bench and do the work there. And, while I’m at the bench, I’ll go ahead and connect the GPS and LTE antennas to their brackets.
Turnkey approach supports component installation
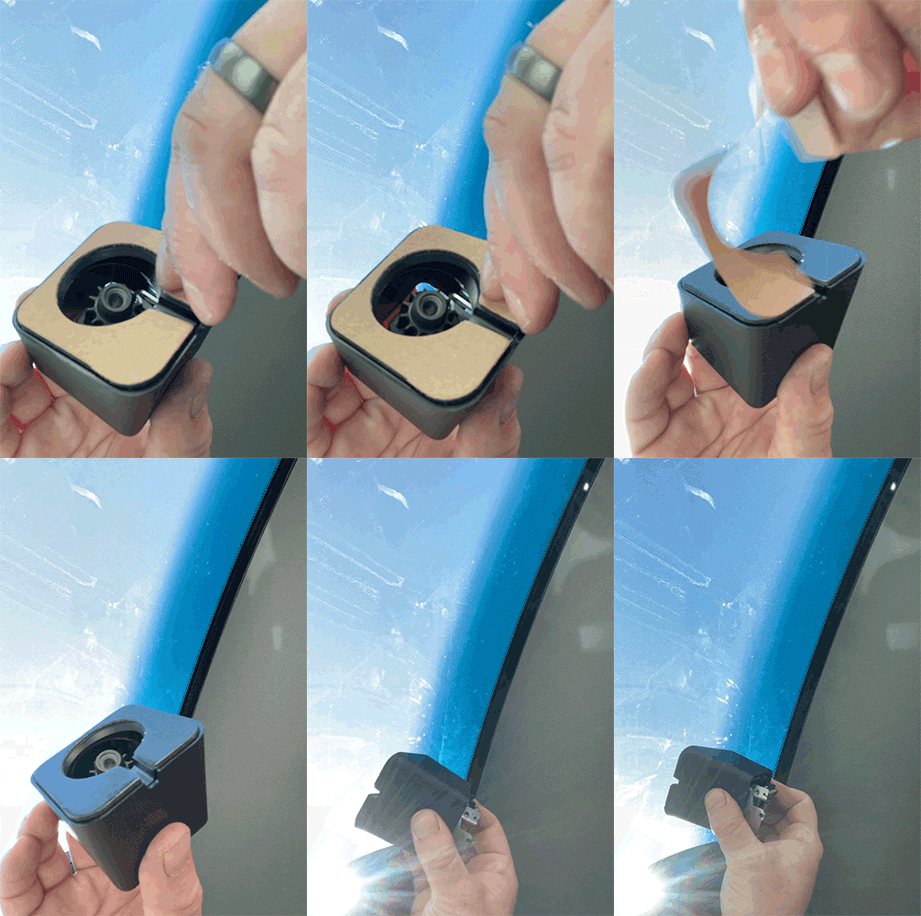
Each PlatoonPro component will come complete with its own mounting kit and a set of instructions tailored to the target vehicle. We know every environment is slightly different, so we have that covered, too; retrofit kits will include all the parts an installer might need to handle those little variations. For example, we designed a collar for the dashboard switch assembly that allows the installer to pop the switch into the existing opening on the dash.
We’ve put a lot of thought into how to make installations faster and easier, down to a ‘peel and stick’ system for mounting a camera on the windshield.
PlatoonPro’s modular, ‘Plug and Play’ design provides lasting benefits
An additional benefit of our modular installation approach is that it enhances the serviceability of the PlatoonPro system. We’ve outfitted a number of components with their own integrated harness to make swapping out parts easier and more cost-effective for fleets.
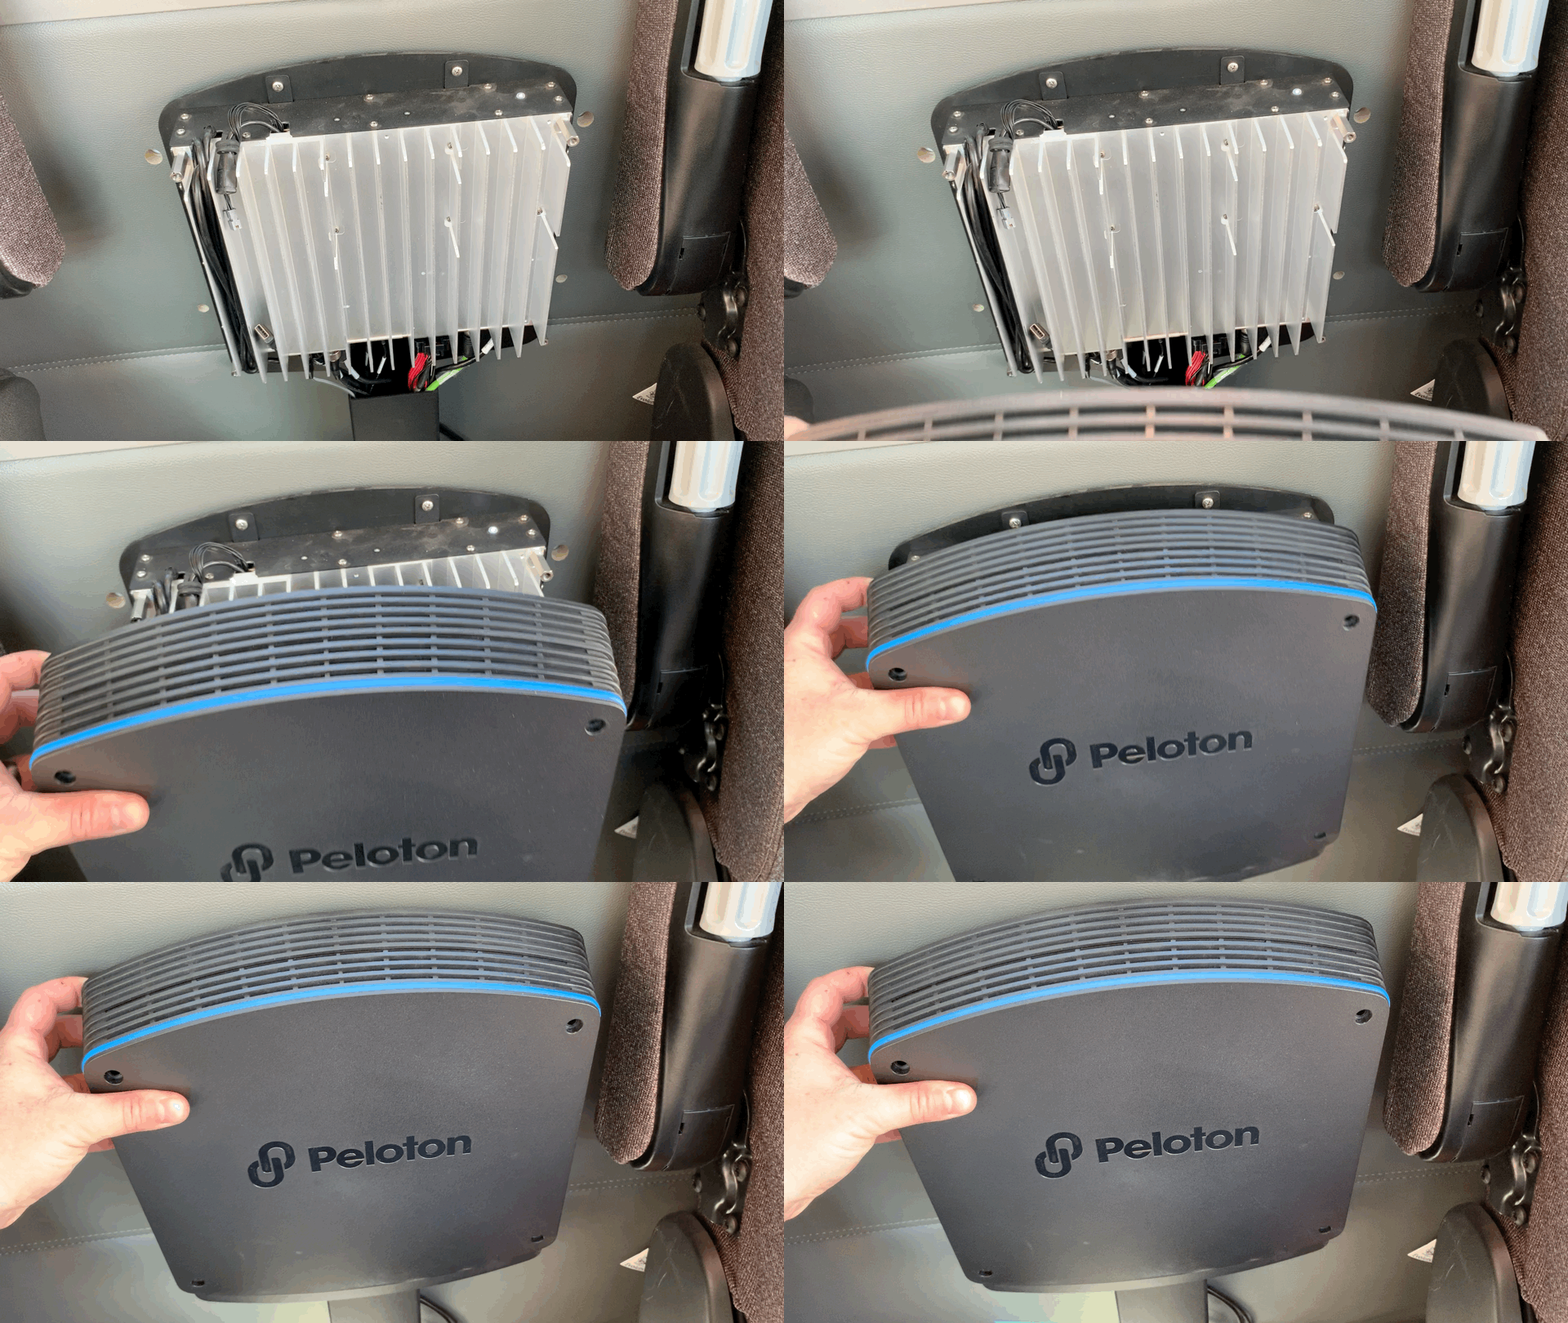
Peloton’s hardware design was recently featured in an exhibition at Cooper Hewitt, Smithsonian Design Museum. With the PlatoonPro retrofit kit, we’ve applied that functional design aesthetic to the creation of a ‘plug and play’ experience for system installers. No engineering degree required.
*NOTE: Installation kits under development will initially support PlatoonPro integration into PACCAR vehicles and can be extended to Cummins powertrains.


